✨ Made with Daftpage
Ledger.com/start: The Simple Way to Set Up Your Ledger Wallet
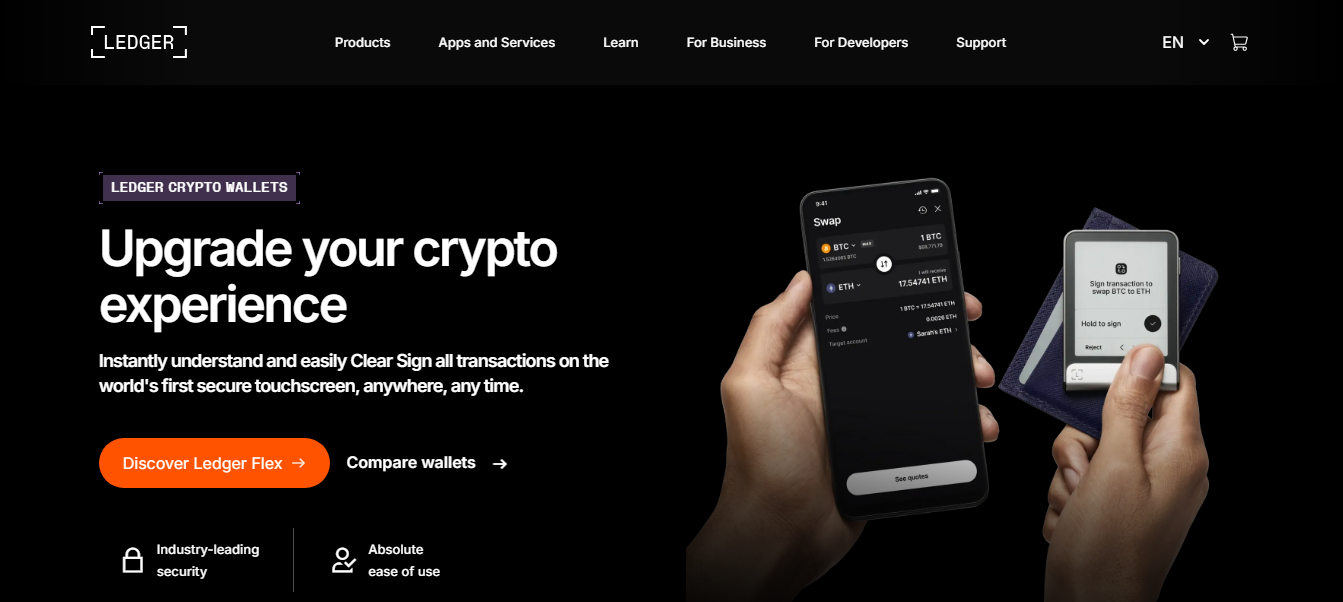
If you own cryptocurrency, you know how important it is to keep your digital coins safe. Unlike money in a bank, cryptocurrency can be stolen if someone hacks your online wallet or exchange account. That’s why many people use a Ledger hardware wallet — a small, secure device that keeps your crypto offline and out of reach of hackers.
To begin using your Ledger wallet, the right place to start is Ledger.com/start. This is the official setup page from Ledger, and it walks you through the whole process step by step. Below is a simple explanation of how to set up your device, what to expect, and how to keep your crypto safe.
What Is Ledger.com/start?
Ledger.com/start is the official setup website for Ledger devices. It helps you install the correct software, set up your new device, and learn how to protect your crypto safely.
Many fake websites try to copy Ledger’s name, so it’s very important to use the real website — type https://www.ledger.com/start
directly in your browser’s address bar. Don’t click random links from social media or emails, because some are scams meant to steal your private information or recovery phrase.
What You’ll Need to Begin
Before setting up your Ledger wallet, make sure you have:
Your Ledger device (Nano S Plus, Nano X, or Ledger Stax)
A computer or smartphone with an internet connection
A USB cable (comes with your device)
A pen and paper to write down your recovery phrase
That’s it. You don’t need to download anything else except the official app from Ledger.com/start.
Step 1: Visit Ledger.com/start
Go to the official website: Ledger.com/start.
Here, you’ll see a list of Ledger devices. Choose the one you bought, like the Ledger Nano S Plus or Ledger Nano X. The website will then show you a clear setup guide for your specific device.
Step 2: Download Ledger Live
The next step is to download the official app called Ledger Live.
Ledger Live is available for computers (Windows, Mac, Linux) and mobile phones (iOS and Android).
This app is where you’ll manage your crypto, check your balance, send or receive coins, and update your device. After downloading, install and open the app. You’ll see an option that says “Set up a new device.” Click that to begin.
Step 3: Turn On and Connect Your Ledger Device
Connect your Ledger wallet to your computer using the USB cable. The screen on your Ledger will light up, and it will give you instructions. Follow the directions that appear both on your device and in the Ledger Live app.
Step 4: Choose a PIN Code
You’ll be asked to set up a PIN code.
This is a 4- to 8-digit number that locks your device and prevents anyone else from using it. Choose a PIN that’s easy for you to remember but hard for others to guess.
If you enter the wrong PIN three times, your Ledger will reset automatically, so write it down somewhere safe if needed.
Step 5: Write Down Your Recovery Phrase
This is the most important step.
Your Ledger will show you 24 words on its screen — this is your recovery phrase or seed phrase.
Write these 24 words down on the recovery sheet that comes in the box. Do not take a photo, do not type them into your computer or phone, and never share them online.
Your recovery phrase is the key to your crypto. If your Ledger wallet gets lost, stolen, or damaged, you can use these 24 words to restore your funds on a new device. But if someone else gets your recovery phrase, they can steal everything.
So keep it private and store it somewhere very safe — like in a locked drawer or safe.
Step 6: Confirm Your Recovery Phrase
After you write down the words, the device will ask you to confirm them. This makes sure you copied them correctly. Once confirmed, your Ledger device setup is almost done.
Step 7: Install Apps for Your Cryptocurrencies
Now go back to the Ledger Live app.
In the app, click on “My Ledger” and then install the apps for the cryptocurrencies you plan to use — for example, Bitcoin, Ethereum, or Solana.
Each crypto has its own app, and you can install multiple apps depending on your device’s storage space.
Step 8: Add Accounts and Start Managing Crypto
After installing the apps, you can add accounts in Ledger Live. This lets you view your balances, send, and receive crypto.
To receive, click “Receive,” choose your coin, and copy the address that appears on your Ledger device screen. Always double-check the address shown on the device matches the one on your computer before confirming.
To send, click “Send,” enter the recipient’s address, confirm the amount, and approve the transaction directly on your Ledger device. This final confirmation step ensures your transaction is safe from hackers.
Step 9: Keep Everything Updated
Ledger regularly updates its software and firmware to fix bugs and improve security.
Always:
Update Ledger Live when new versions are released.
Install device firmware updates when prompted.
Store your recovery phrase safely and never share it.
Step 10: Stay Alert and Secure
Here are a few key safety tips:
Only buy Ledger devices from the official Ledger website or verified resellers.
Ledger will never ask for your 24-word recovery phrase — not by email, phone, or message.
Avoid fake apps or browser extensions claiming to work with Ledger.
Always check that the website address starts with “https://www.ledger.com.”
Back up your recovery phrase in more than one safe place, but never digitally.
In Summary
Setting up your Ledger wallet through Ledger.com/start is simple and secure. The website and Ledger Live app guide you every step of the way, even if you’re new to crypto.
By keeping your crypto offline, Ledger gives you full control over your assets. Your coins stay safe from online hackers, scams, and exchange failures.
Just remember: your 24-word recovery phrase is the master key to your wallet. Keep it private, store it safely, and never share it. If you follow these steps carefully, your cryptocurrency will be secure for the long term.